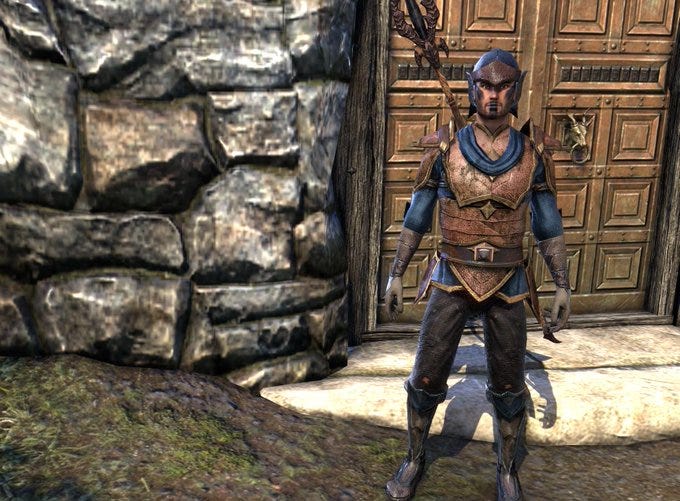
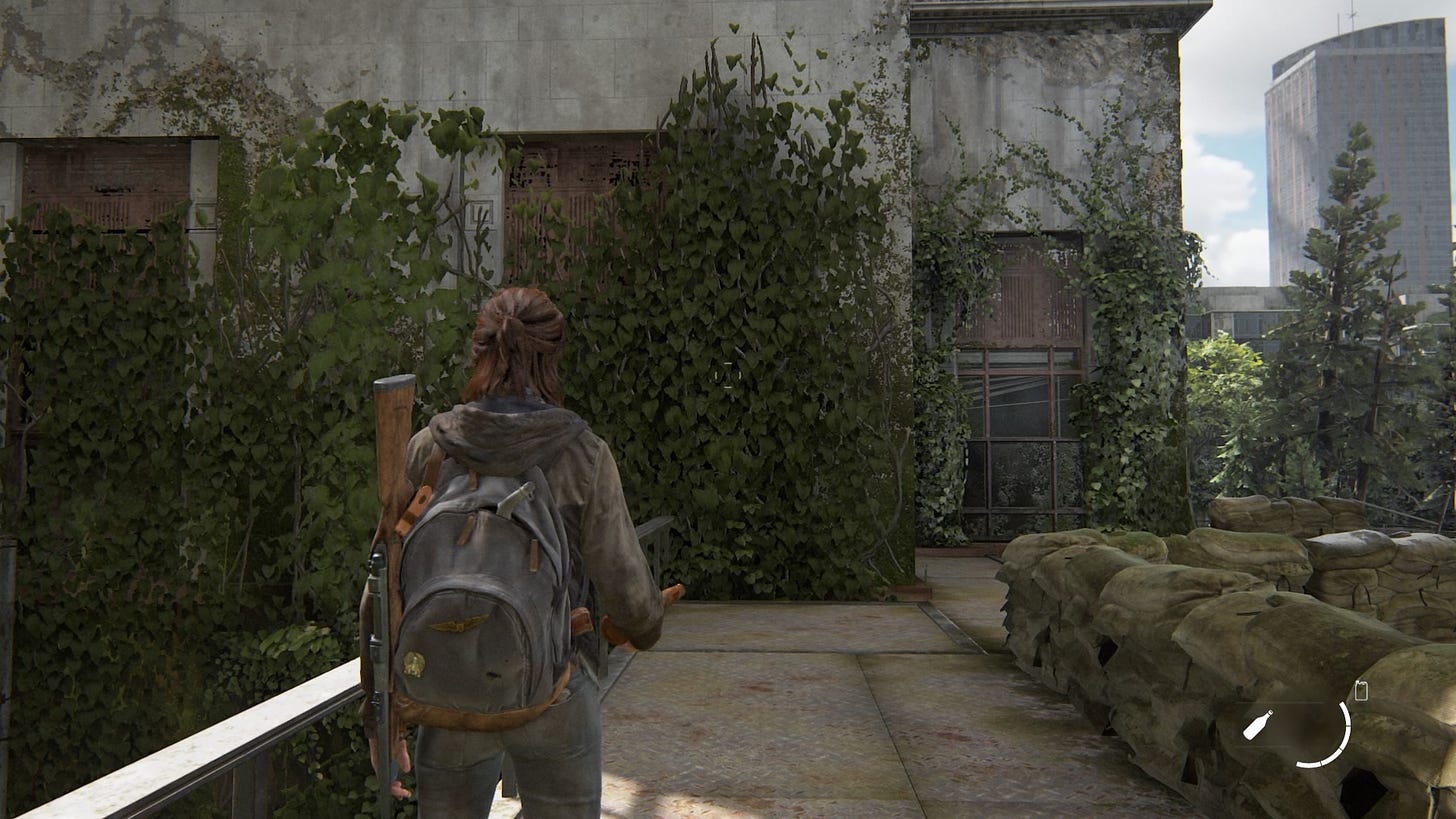
As a gamer, you've probably experienced this situation while you're leisurely strolling through your game. You've noticed something very disturbing: the texture resolution is not the same on surfaces placed next to each other, when it should logically be the same. Most players don't notice this, but as you pay more attention to detail, it bothers you and can break your game experience.
This problem is related to texel density, which when done well, ensures the consistency of the graphic quality visible on the screen. It appears more in games that have technical constraints that are partly related to memory limitations. As the latest technologies are more powerful, we see much less of these texture resolution concerns. Texture density is something that is very important and that applies to the whole video game industry. However, if the principle seems simple, it is not easy to apply it for beginners.
Today we're going to do something more technical as we're going to see what texel density is, why it's important and how to master it.

What’s texel density?
First of all, what is a texel? A texel, a portmanteau word formed by the terms texture and element, is the smallest element of a texture applied to a surface. The space of a texture is basically formed by matrices of texels when the other images are represented by matrices of pixels (picture-element), it is the same for the screen. So texels and pixels represent more or less the same thing, they can both be defined as regions of an image but for a different use. We can also note that a texel of a texture can itself contain several pixels of the screen, like a container (magnification) or conversely, a pixel can contain several texels (minification).
The process starts with a local position in the space of a model. UV mapping projects a texture map onto a 3D model by converting coordinates in 3D space (stored in a three-dimensional vector in the u, v, y axes) into a position in 2D space (in a two-dimensional vector in the x, y axes). The position of a pixel in the 2D space of a texture corresponds to the position in the 3D space.
A 1024 x 1024 texture map therefore has a width of 1024 texels in the U and V axes. The texel density is calculated as follows:
1024 texels ÷ 100 cm = 10.24 texels per cm².
This means that if you want to achieve 1024 texels per square meter (100 cm²), your texel density will be 10.24. The more texels, the higher the density, allowing for a higher resolution of the texture map and therefore more detail.
Here are the texel densities for different sizes of textures:
128 x 128 = 1.28 texel per cm²;
256 x 256 = 2.56 texels per cm²;
512 x 512 = 5.12 texels per cm²;
1024 x 1024 (1K) = 10.24 texels per cm²;
2048 x 2048 (2K) = 20.48 texels per cm²;
4096 x 4096 (4K) = 40.96 texels per cm²;
8192 x 8192 (8K) = 81.92 texels per cm²;
Be careful, the more you use large textures, the more you will be limited by the capacity of your computers. Also, do not apply 2K texture maps on a model with a texel density of 1K, it is technically incorrect. However, you can apply your 2K texture map on a 2 m² area.
Choosing the right texel density
You need to define your texel density before you start modeling. But how?
First, you need to decide how close the camera will be to the assets. If you choose a screen resolution of 1920 x 1080 (Full HD) and your asset takes up approximately a quarter of the screen which is about 512 pixels (you have to keep multiples of 2) closest to the camera, you should at least choose a texture resolution of 512 texels. Continuing with this logic, if the object takes up half the screen, go for a texture of 1024 texels.
Keep in mind that if your object is far from the camera, you don't need to give it a high texel density. On the contrary, the closer the object is to the camera, the more detailed it should be and therefore the higher the texel density should be. In FPS for example, weapons are often more detailed than the rest because they are seen very close…
There are also recommendations according to the types of games:
Strategy games (top-down view) : 1.28 ou 2.56 tx per cm².
Third person games : 5.12 tx per cm².
First person games : 10.24 tx per cm².

It is also important to know that AAA games have their own modeling and texturing techniques. There are also tricks to increase the rendering resolution of textures without affecting performance. These include detail texturing (giving the illusion that there is more detail) and texture streaming (which reduces or increases the resolution depending on distance and memory).
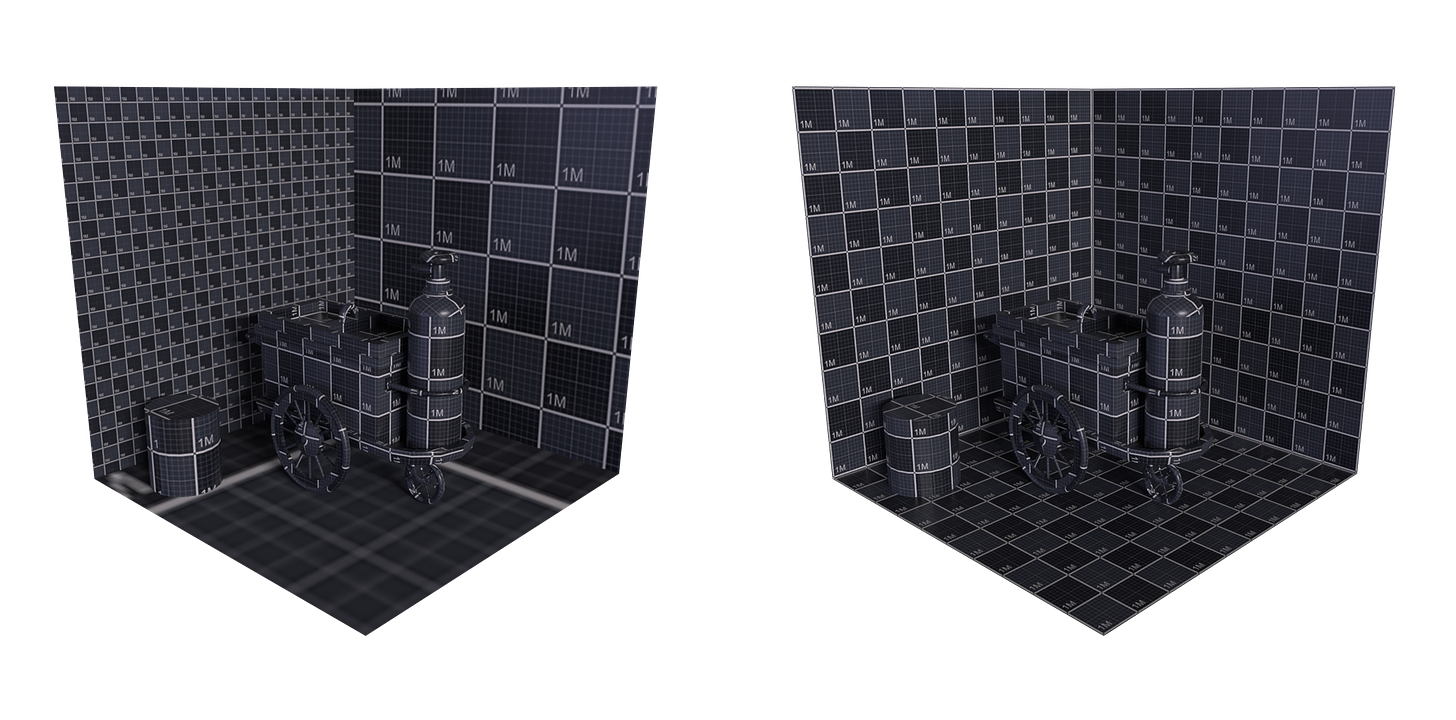
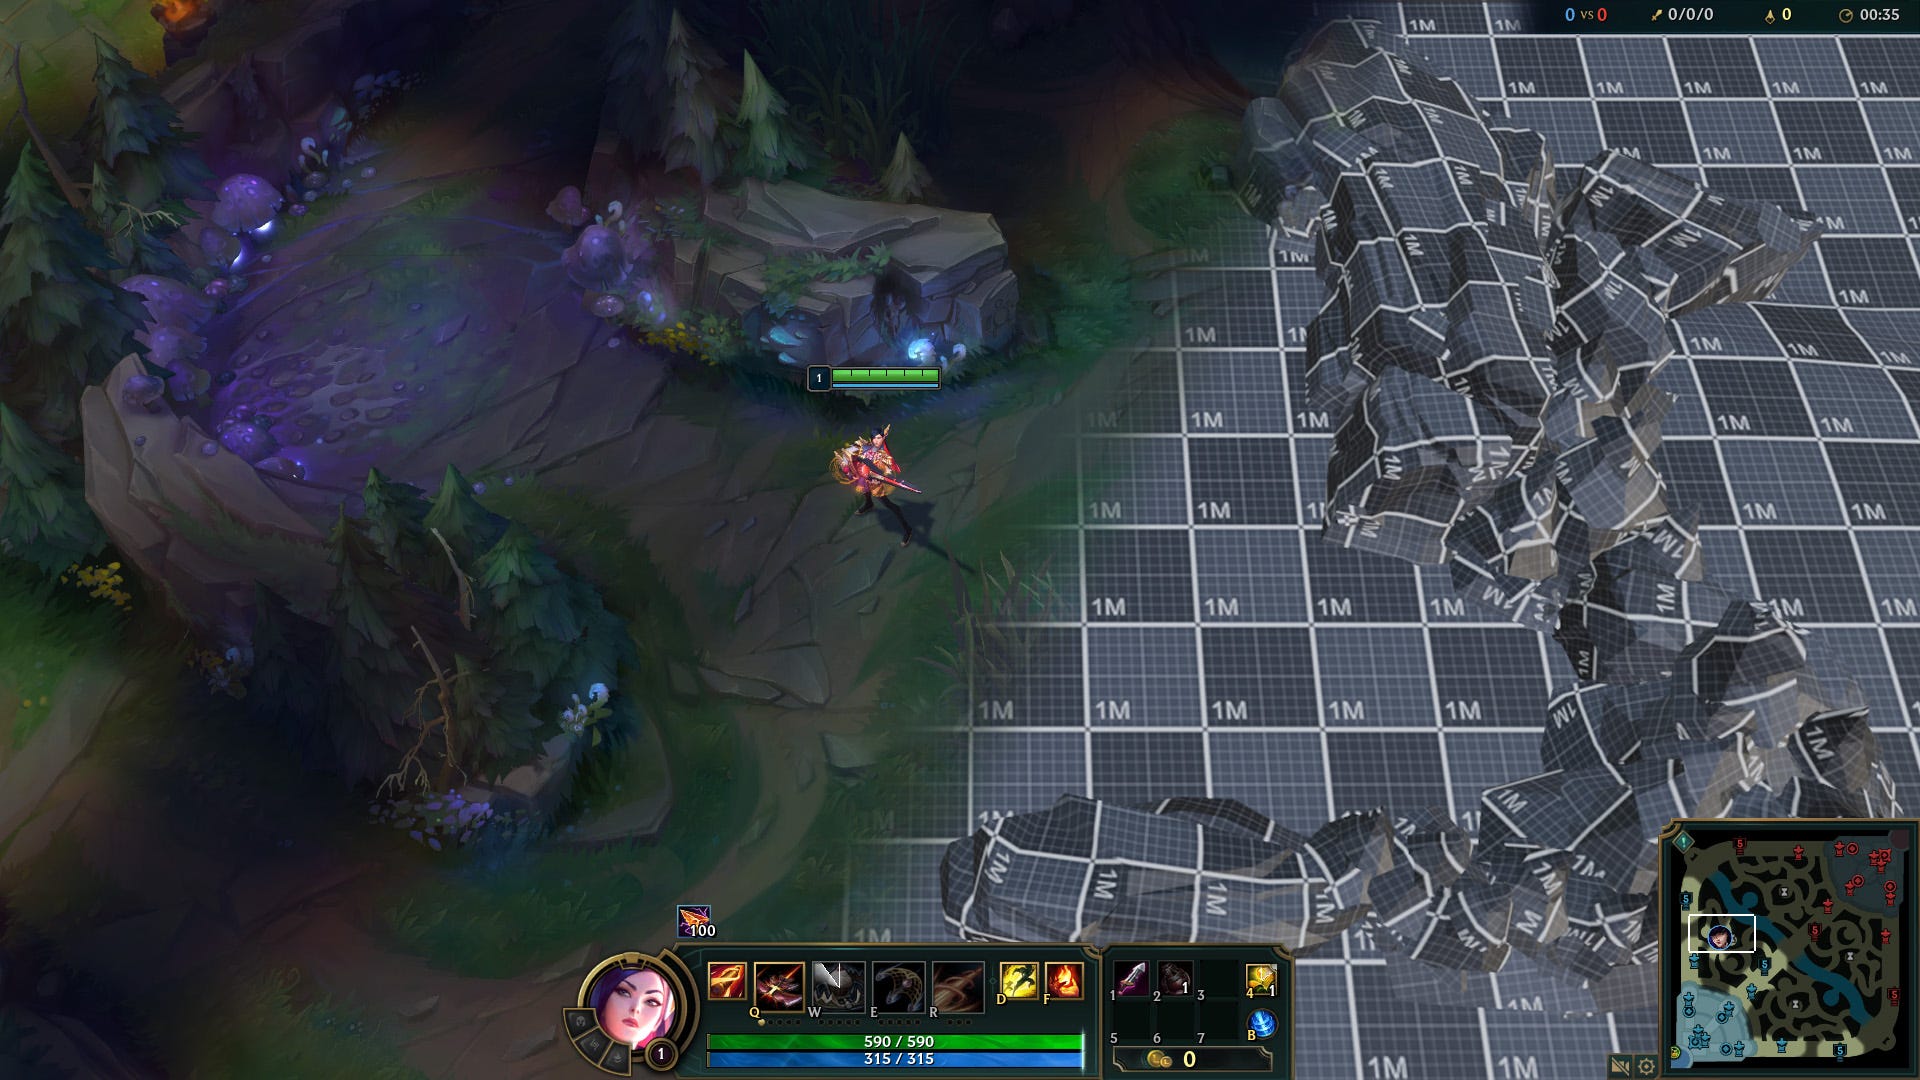
All you need is to keep consistency between the different assets that make up your scene. The idea is not to have an object with a completely blurred texture next to another one with a very detailed texture.

Achieving the desired text density
We will now see how to achieve the predefined texel density. Among Maya, 3dsMax and Blender, only the first one has a native texel density system. For the two others, you can download and install these two scripts:
Each software has a similar workflow for texel density. As first, set your map size, then your texel density. Select your UV shell and apply it. In fact, it's that simple.
When you want to get a texel density that you don't know and that doesn't correspond to the norms (10.24, 5.12...), which is not wrong, you have a button that calculates it from a selected UV shell (either the "Get" button or the "Calculate TD" button), then set it as the targeted one. Then you just have to apply it to your other assets.
According to Anthony O'Donnell, there is a more elaborate method for calculating the right texture size for unwrapped assets to match the texel density you have previously defined. You need to calculate the total surface area (TSA) of your asset, using a rough shape to make it easier. There are many TSA calculators on the Internet to help you get this information. But here is the equation:
TSA = 2 (width*height) + 2 (width * length) + 2 (length * height)
You also need to get the square root of the TSA in m² or cm². Then, use this equation below to calculate the texture map size.
Target texel density * TSA = texture map size
If your result is not a power of two, round it up to the nearest one. Then use your result before rounding as the targeted texel density, remembering to divide it by 100.
What to do when your object is small and takes only a little space in the UV shell? Have it share the same UV space with other small objects. They will then use the same texture, which saves resources by the way.
What to do when your object is too big for the UV shell? You may split your assets in various textures sets, in order to match the defined texel density.
When to break the rules?
As said before, there are some cases where the rules can be ignored: when elements of the scene are far away for example. Indeed, the elements that the player can't get close to and those in the background can benefit from a lower texel density. This is also the case for surfaces that are not normally visible, such as the underside of a car or a piece of furniture.
On the other hand, items that the player needs to be able to decipher, such as papers, posters, evidence, may have a higher texel density. The same is true for any objects that are very close to the camera, such as a weapon or a player's clothing. Some situations such as menus, object visualization or cinematics are bound to have a better graphic quality.
Basically, when an object is important, its texel density should be increased and conversely when it does not have a prominent role. We must therefore categorize the assets according to their importance in the scene. This categorization step is important because increasing the quality of the textures obviously has an impact on the performance.

I sincerely hope this article will help you understand this theory for your future artwork. Thank you for reading Inspirant issues!
References and links
Texel Density and other bits of texture theory by Anthony O’Donnell.
Find the 90-page PDF by clicking on this link.Texel Density: All you need to know by Leonardo Iezzi on Gumroad.
Texel (graphics) on Wikipedia.
What is Texel Density and How to Master it by malcolm341 on YouTube.
How To Find The Right TEXEL DENSITY For Your Asset by Paul H. Paulino on YouTube.
Blender Add-on Texel Density Checker by Ivan Vostrikov on Gumroad.
A little change: Inspirant is switching from a weekly to a bi-weekly publication. My aim is to produce quality articles, and unfortunately I can’t devote time enough to make more of them. If possible, it will be a weekly publication again. Moreover, from now on, Inspirant issues will release on 5pm.
See you soon!


